

When I went to my state’s art education conference this fall, I saw a really cool project idea at the United Art booth. It was bright, colorful, and a relief sculpture! You can find it here. They gave me the lesson plan for it and I have been working on the sample for my students. I’ve taken pictures of most of my steps so that I can share with my students when they are ready to make it. Feel free to use it. 🙂 I started with painting the background piece of cardboard (8×10″).

Then I drew out my main head shape, painted it white, and cut it out.


Glue some smaller pieces of cardboard to the back and then glue it down to your background.
Create a profile view of just the head – not the nose, eyes, etc.

I painted another piece of cardboard white and then drew out the rest of my main pieces – eyes, lips, nose, forehead. I also added cheeks, eyebrows, and lids. The more pieces you add, the more interesting it can be.


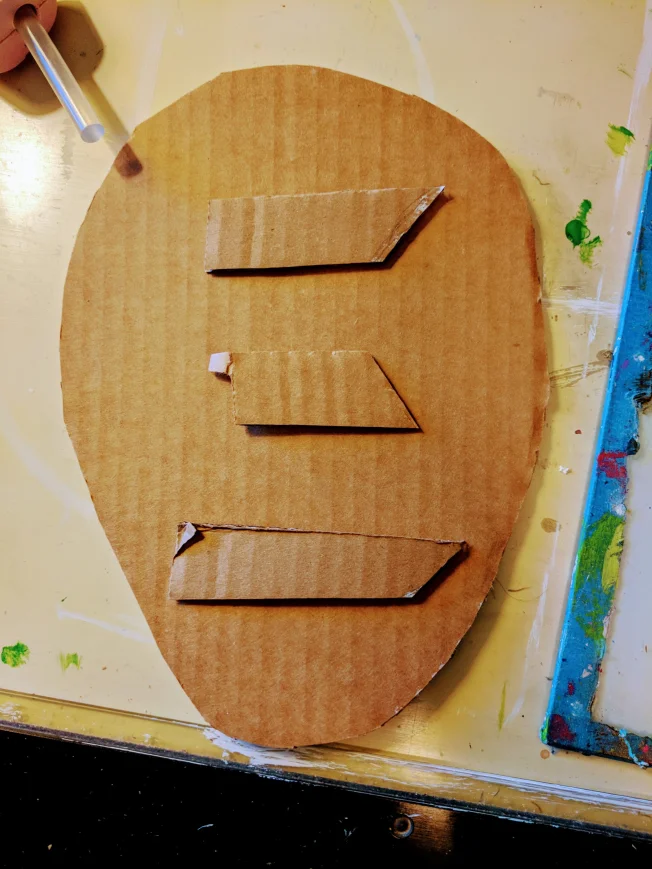
I used my scraps from cutting all my other pieces to create the hair and neck. Now it’s ready to paint!

I painted with tempera and let it dry before using some black lines to add some depth and really make it pop!


I love this project and can’t wait to try it with my 6th graders!
UPDATE! We completed this assignment and the results are awesome! Check ’em out:


So proud of these!!

They are gonna love this!
Pingback: 15 Amazing And Creative 7th Grade Art Projects – Teaching Expertise – Retype
how long did this take? for your students to make?
Pingback: 35 Unique Fifth Grade Art Projects To Tap Into Kids' Creativity - Schoolbestresources.com